
It’s so exciting when you find out you’re going to have a baby. So many thoughts and emotions, so many things to buy to prepare your home for your sweet bundle of joy! Baby showers and registries help take some of the burden off new parents, but many times you’ll still need to buy some big-ticket items on your own. The cost of preparing for a new baby adds up quickly; between the essentials like diapers and wipes and the many products that claim to make the adjustment to parenthood as smooth as possible, the list can be endless. Many of the products marketed to new parents can be skipped without missing a beat, but something to rock your sweet baby in while she’s nursing or needs a few extra snuggles before bedtime is a must. Those first few months (heck, years) go by so quickly, having a comfy nursery rocker to cherish those quiet moments will be something you’re so thankful for.
One way you can help your wallet while preparing for your new little one, is by utilizing things you already have. Instead of buying typical nursery furniture that can easily cost hundreds of dollars, modify your existing furniture. Many people opt out of buying an actual changing table which will only be useful for a couple of years, instead they use a regular dresser (like I did here). The same can hold true for your nursery’s rocker! I took our comfy Ektorp chair from Ikea and simply added a swivel rocker base to make it perfect for our nursery. I’m excited to show you how easy it is!
Find a base
There are a couple ways to go about this, depending on your time and budget. The simplest way to get a base is by purchasing one online (like this). The potentially cheapest way is by looking at your local thrift stores or garage sales to find an old chair that has a swivel base attached for you to remove and use (this is what I did).
Secure base to wood
I used two pieces of wood, approx. 2.5in x 1in and had it cut to 23.5 inches long. This was the perfect length to secure to the bottom of the Ektorp chair. Bolt the base to the two pieces of wood. Put the base a little more toward the back where the metal supports are. I placed mine about 7.5 inches from the back (top yellow line). This way you can rock deeper.

Base bolted to wood

Attach base to chair
Simply drill pilot holes and screw the wood pieces (with base attached) into the bottom of the chair.

(Don’t forget to unscrew the existing legs)
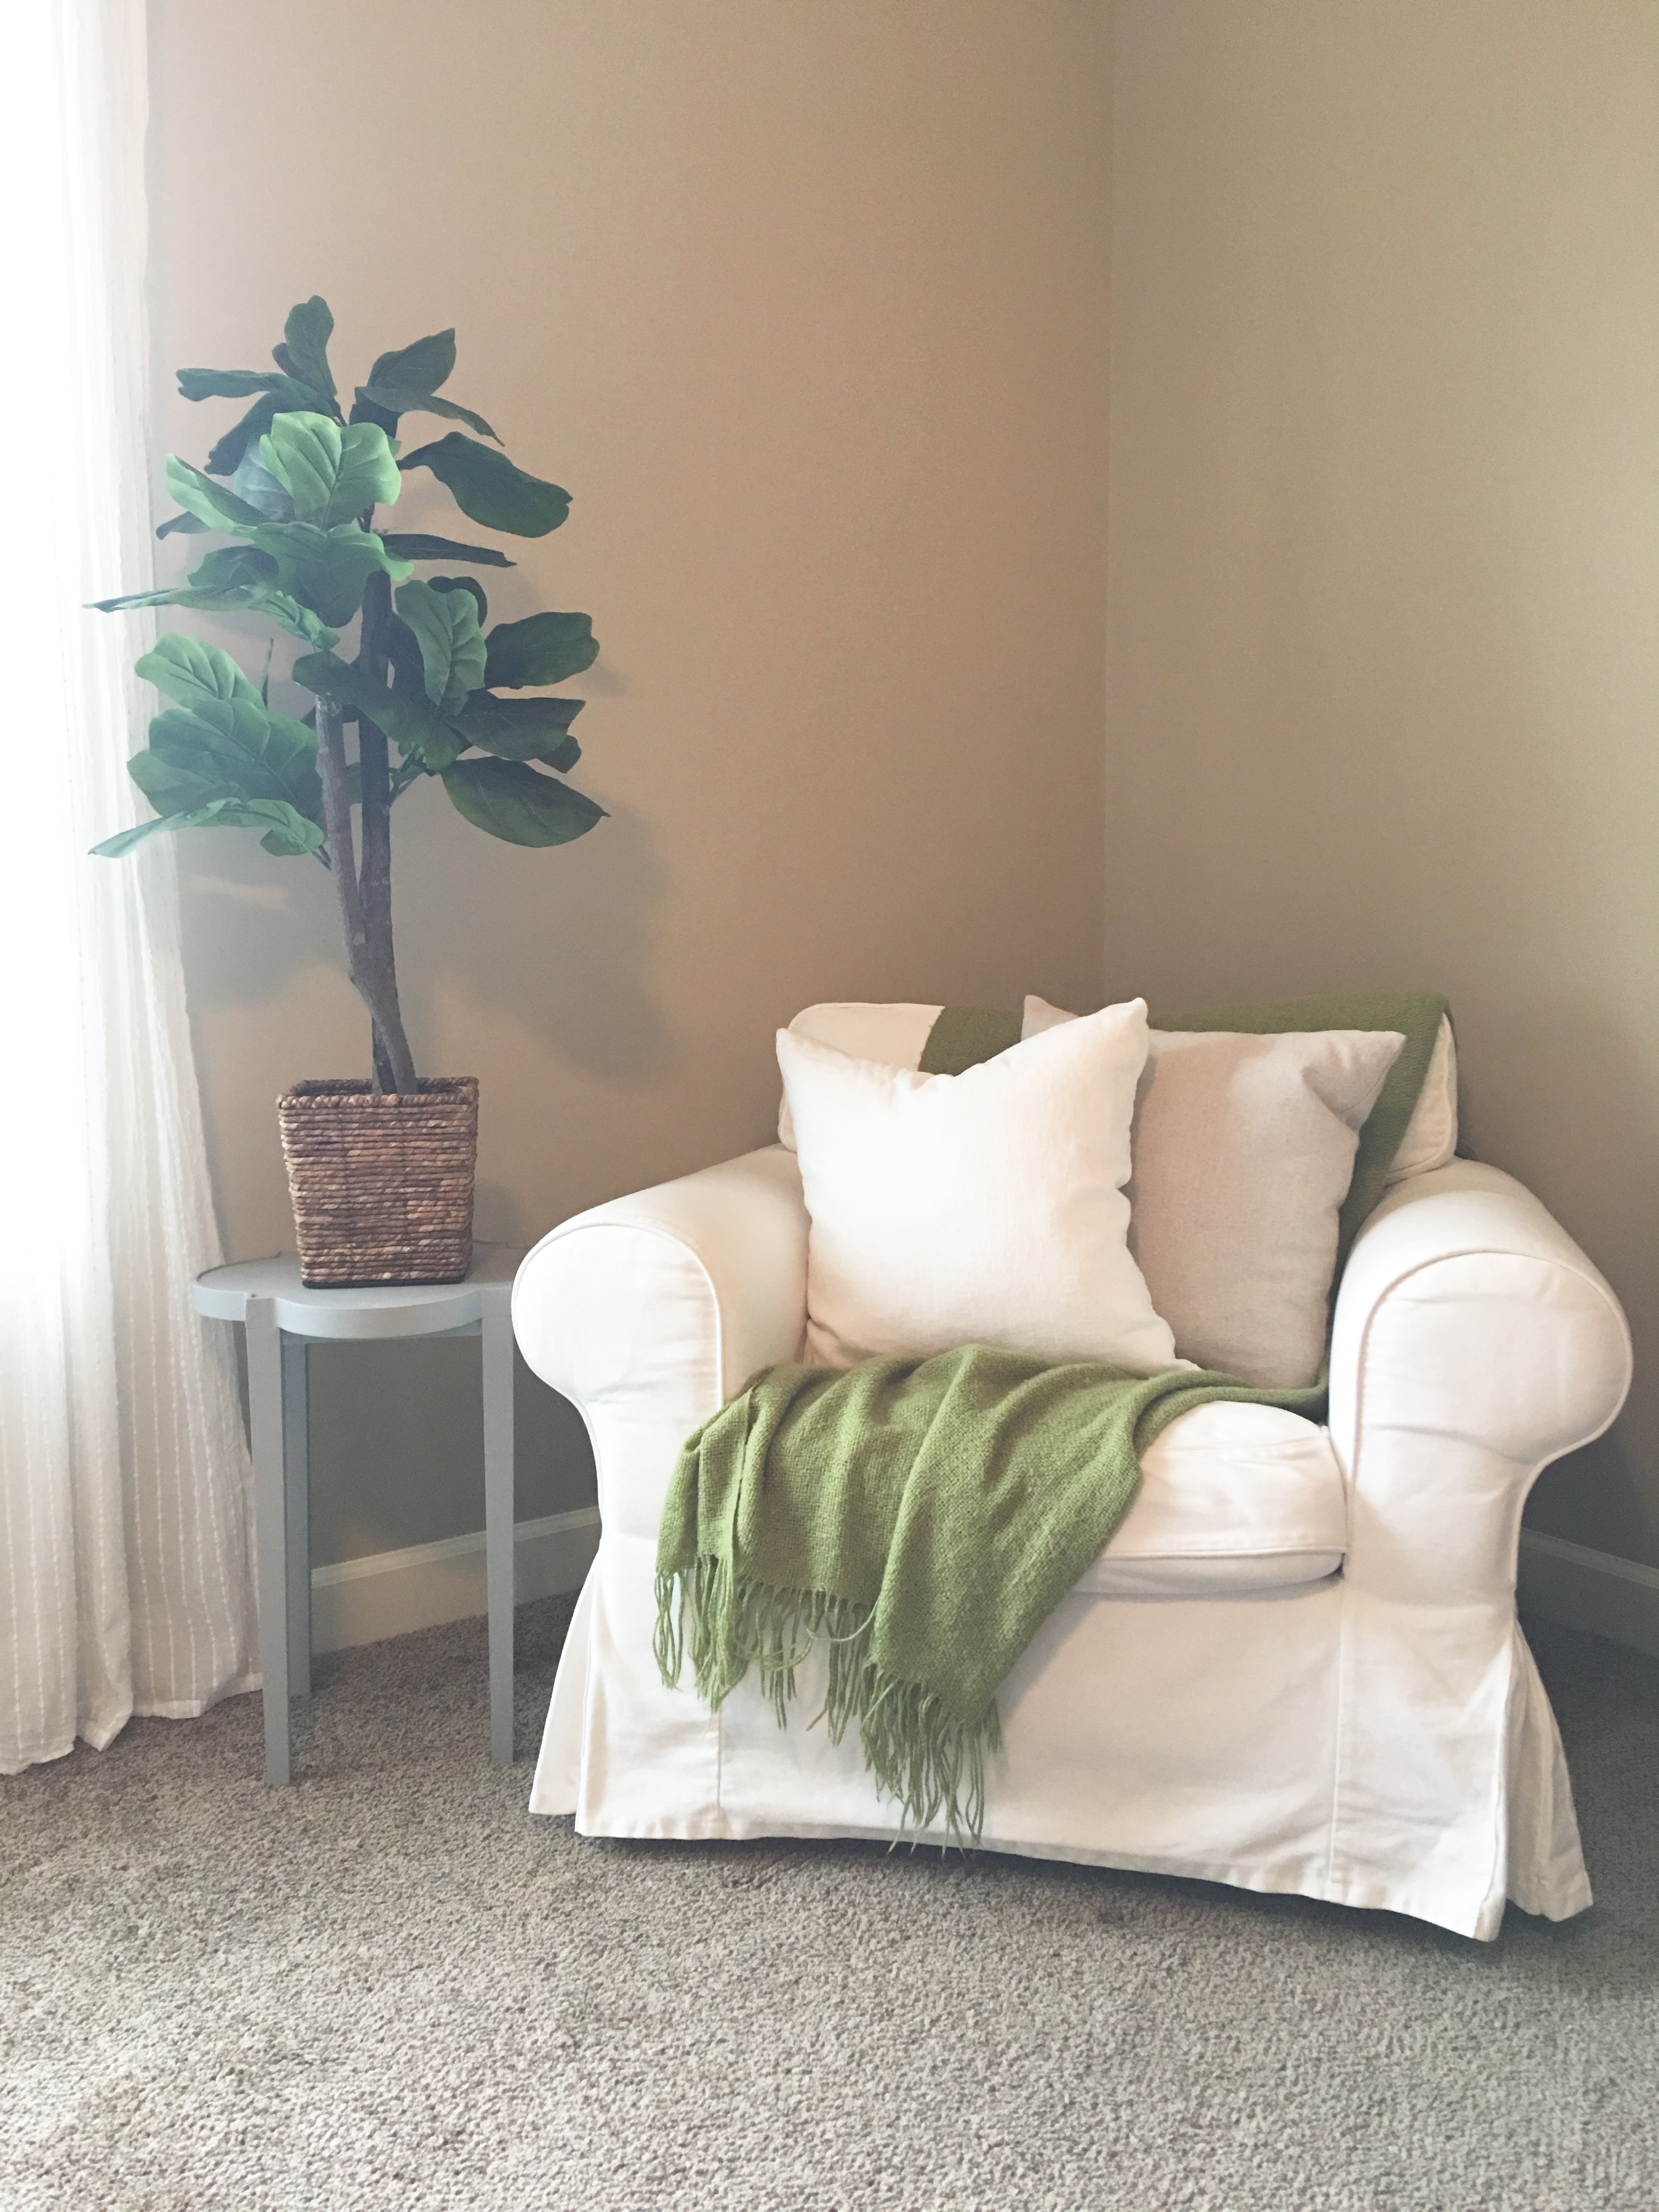
Get ready for lots of baby snuggles in your new nursery rocker 🙂


The best thing about this project is that once your baby is grown, you won’t be stuck with a chair that is obviously nursery furniture. It will still look great in any room of the house!


